June 6, 2026
What is lease lifecycle management? A plain-English guide
By Alex Burton
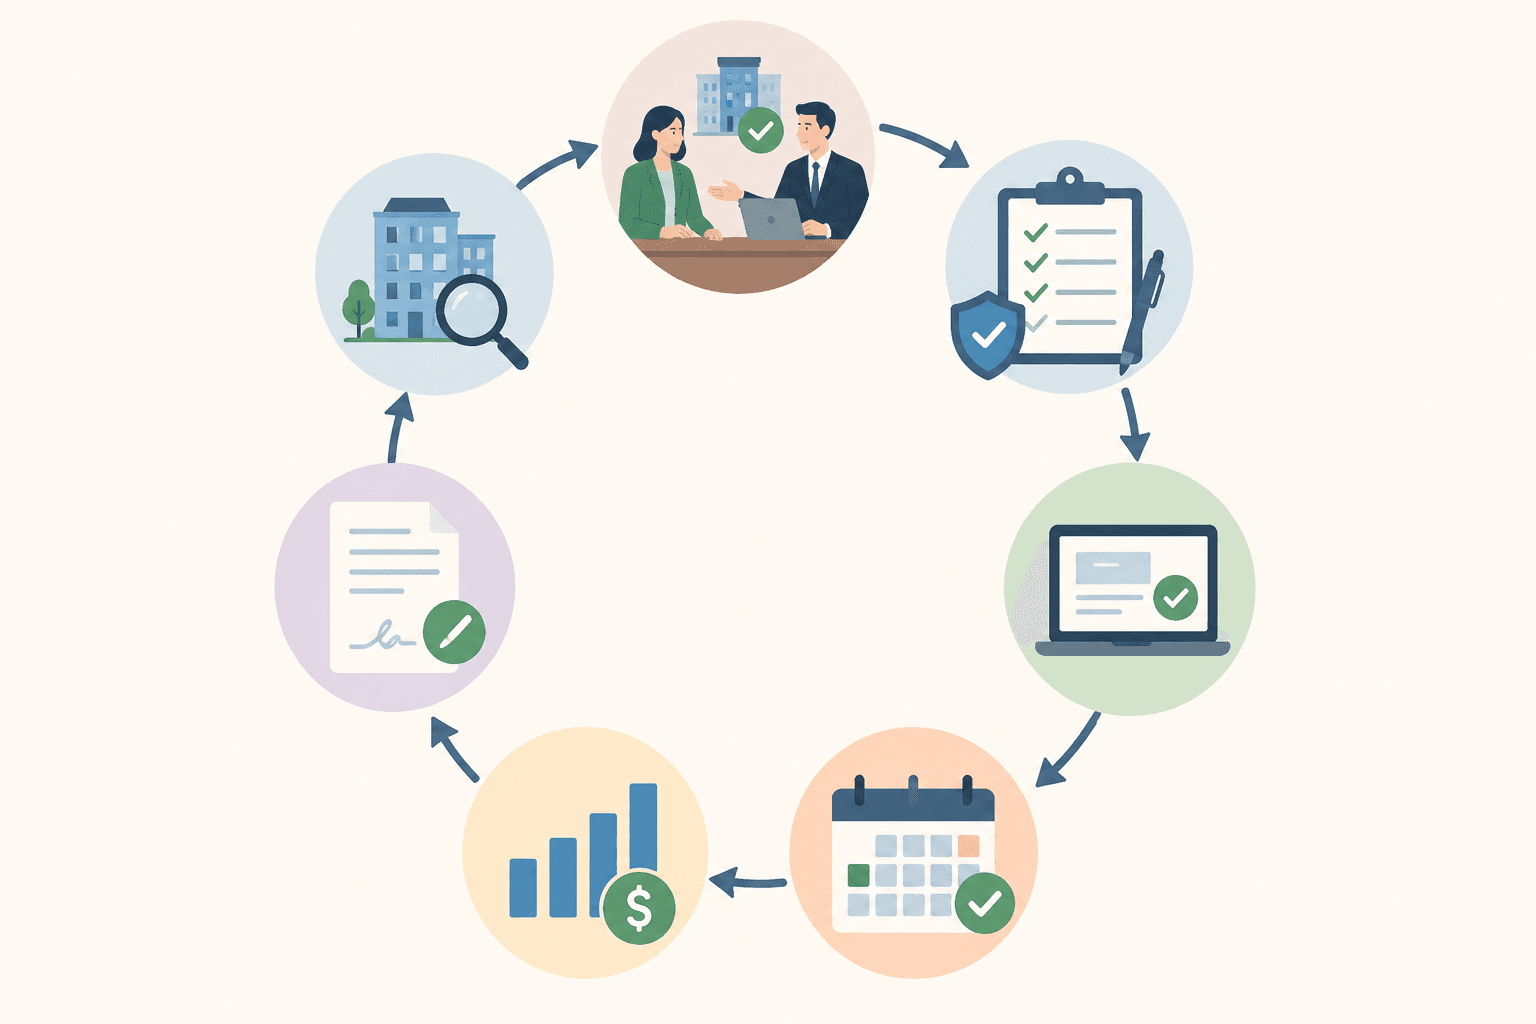
Most property managers know the feeling: a tenant gives notice, and suddenly you’re mentally running through everything that has to happen before the unit is re-leased. List the property. Schedule showings. Collect applications. Run screening. Draft the lease. Collect the deposit. Hand over keys. And that’s before you’ve dealt with the move-out inspection or the deposit return for the outgoing tenant.
That full sequence, from the moment a unit becomes available to the moment a new lease is signed (and beyond, through renewals and eventual move-out), is what lease lifecycle management describes. It’s not a fancy term for doing your job. It’s a framework for doing it consistently, so the same things don’t fall through the cracks every cycle.
This guide breaks down what the lease management process actually involves, stage by stage, and where most teams run into trouble.
Why “lifecycle” and not just “leasing”
Leasing usually refers to the front end: getting a unit rented. The lifecycle is the full picture, which includes everything that happens after a tenant moves in.
That distinction matters because the most expensive failures in property management often aren’t leasing failures. They’re mid-tenancy and end-of-tenancy failures: renewals that weren’t tracked and suddenly result in a surprise vacancy, deposit disputes that weren’t caught because the move-in condition wasn’t documented properly, rent escalations that never got applied because nobody tracked the date.
Managing the lifecycle means managing the full arc of a tenancy with deliberate processes at every stage, not just at the beginning.
The six stages of the lease lifecycle
Stage 1: Lead capture and listing
The lifecycle begins before a tenant ever applies. When a unit becomes available (through a notice to vacate, a non-renewal, or a new property coming online), the clock starts.
This stage covers:
- Setting the rent based on current market comps
- Listing the property across relevant platforms
- Capturing incoming leads and responding quickly enough that qualified prospects don’t move on
Speed matters more here than most managers expect. Studies consistently show that a response within the first hour of an inquiry dramatically increases the chance of converting that lead to a showing. A lead that doesn’t get a same-day reply has usually already scheduled a tour somewhere else.
LeaseHub’s listing syndication pushes vacancies to major rental platforms automatically so nothing sits unlisted while your team is handling other priorities.
The common failure at this stage: no centralized lead tracking. Inquiries come in through different channels, get split across team members’ inboxes, and some fall through. A CRM built for leasing gives you a single place where every lead is captured and assigned, with follow-up tracked rather than assumed.
Stage 2: Showings and qualification
Once leads are coming in, the next stage is getting qualified prospects in front of the unit.
This involves scheduling and confirming showings, handling access (self-guided or agent-led), and gathering basic qualification information before a prospect gets too far into the process.
Self-guided tours have become common, particularly for high-volume portfolios where coordinating agent availability for every showing isn’t realistic. The tradeoff is that you need reliable access management and a clear process for gathering prospect information before the showing.
The common failure at this stage: scheduling chaos. When showings are booked manually across calendars without documentation, double-bookings happen. No-shows don’t get followed up on. A prospect who toured on a Tuesday doesn’t hear back until Friday, by which point they’ve signed somewhere else. Automated showing coordination removes most of this friction by handling scheduling, confirmation, and follow-up without requiring manual touchpoints.
Stage 3: Applications and tenant screening
When a prospect is ready to apply, the application stage begins. This covers:
- Collecting the application (personal info, rental history, income documentation)
- Running background and credit checks
- Verifying income and employment
- Checking rental references
- Making an approval decision consistently with Fair Housing requirements
Consistency is the operative word. Every applicant for a given unit should be evaluated against the same written criteria. Inconsistent screening decisions are one of the most common sources of Fair Housing complaints, and they’re usually the result of informal processes rather than any intentional discrimination.
Turnaround time matters here too. Qualified tenants are often applying to multiple properties simultaneously. A screening process that takes four or five days, because the screening service doesn’t connect to the rest of your workflow, risks losing applicants to whoever moves faster.
LeaseHub’s tenant screening runs background checks, credit reports, and income verification from within the same platform where the application was submitted, so the result lands in the same place your team is already working, without a manual handoff.
The common failure: scattered documentation. Applications in one system, screening results in an email, approval notes in a text thread. When a Fair Housing question comes up six months later, nobody can reconstruct what the process looked like.
Stage 4: Lease execution and move-in
An approved applicant becomes a tenant when the lease is signed and the keys are handed over. This stage includes more than just the signature:
- Generating the lease with the correct terms, dates, and clauses
- Collecting the security deposit and first month’s rent before move-in
- Conducting and documenting the move-in inspection
- Completing the utility transfer and renter’s insurance verification
- Orienting the tenant on maintenance request procedures, rent payment, and property rules
The move-in inspection is often treated as a formality. It isn’t. A thorough, documented condition report, with photos tied to specific rooms and items, is the baseline you’ll reference when the tenant eventually moves out. Without it, deposit deductions become arguments you can’t win.
The common failure: lease generation errors from manual data entry. When lease details have to be typed in from an application form that lives in a different system, mistakes happen. Address slightly wrong. Lease start date off by a day. Rent amount transcribed incorrectly. These are the errors that create disputes later.
LeaseHub’s Deals & Lease Management keeps application data, lease generation and deal pipeline in the same workflow so the information only has to be entered once.
Stage 5: Active tenancy management
Once a tenant is in place, the lease management process doesn’t stop. It shifts.
Active tenancy management covers:
- Rent collection and tracking
- Maintenance request handling and follow-up
- Lease enforcement (late fees, violations, notice procedures)
- Mid-tenancy inspections where permitted
- Communication with the tenant through normal course of tenancy
Rent collection is the most mechanically routine part of this stage, which is exactly why automation is valuable. Automatic payment reminders, online payment portals, and automated late fee application remove the awkward manual follow-up cycle and reduce the chance that a late payment slips by unnoticed.
Online rent collection through LeaseHub’s Payments feature handles ACH collection, payment tracking, and deposit accounting in one place, separate from the tools most teams are trying to jury-rig together.
The common failure here is the one that creates the biggest downstream problems: nobody tracks critical dates. Lease end dates, notice-to-vacate deadlines, rent escalation dates, option exercise windows. When these aren’t actively monitored, decisions get made by default rather than by choice.
Stage 6: Renewal, non-renewal, and move-out
The last stage of the lifecycle is also where many teams lose the most money. It splits into two paths:
If the tenancy continues: Renewal management involves reaching out to the tenant in advance of lease expiration (90 days out is a reasonable window for residential), offering renewal terms, negotiating if needed, and executing a new lease or addendum. A renewal handled well keeps a good tenant in place and avoids a turnover cycle. A renewal that’s missed because nobody tracked the date results in a month-to-month tenancy at best, a surprise vacancy at worst.
LeaseHub’s Renewals & Subleasing tracks renewal windows and automates the outreach so no lease expires without a deliberate decision.
If the tenancy ends: Move-out management covers:
- Processing the notice to vacate and confirming move-out date
- Conducting the move-out inspection against the move-in condition report
- Determining any deductions from the security deposit
- Returning the deposit within the state-required timeframe
- Preparing the unit for the next tenancy (maintenance, cleaning, re-listing)
Security deposit returns are one of the most common sources of landlord-tenant disputes, and most of them are avoidable with solid documentation at both ends of the tenancy. The move-in inspection you do carefully in Stage 4 is what makes this stage defensible.
Where the process breaks down for most teams
The lifecycle above isn’t complicated in concept. It breaks down in execution for a predictable set of reasons:
| Breakdown point | What causes it | What it costs |
|---|---|---|
| Slow lead response | No centralized lead capture, manual follow-up | Lost prospects, longer vacancy |
| Screening delays | Screening tool disconnected from application | Losing qualified applicants to faster competitors |
| Lease errors | Manual data entry between systems | Disputes, legal exposure |
| Missed renewals | No date tracking, reactive process | Surprise vacancies, turnover costs |
| Deposit disputes | Poor move-in documentation | Financial loss, legal risk |
| Scattered records | Multiple tools, no central history | Inability to reconstruct decisions if challenged |
The pattern across most of these is the same: a process that depends on someone manually tracking something, or manually moving information from one place to another, will eventually fail when that person is busy, out, or just having a regular Tuesday.
The connection between lifecycle management and vacancy rate
The lease lifecycle isn’t just an operational framework. It has a direct line to vacancy rate, which is the number that most property owners care about most.
Consider a single-family portfolio of 50 units with an average rent of $1,800/month. If the average days-to-lease is 30 days and you’re turning 20 units per year, that’s $36,000 in vacancy cost annually. Cutting days-to-lease to 15 days by tightening the listing, lead, and showing stages saves $18,000. That’s not a hypothetical; it’s arithmetic.
Every stage of the lifecycle, handled consistently, compresses the timeline. Lead response time compresses time-to-showing. Efficient screening compresses time-to-approval. Early renewal outreach compresses the gap between tenancies.
Managing the lease lifecycle isn’t just about compliance and paperwork. It’s about keeping the machine running between tenancies as tightly as possible.
What good lifecycle management actually requires
Two things make lease lifecycle management work in practice, rather than just in theory:
Consistent processes. The same steps happen every time, regardless of who’s handling the deal. Checklists, documented criteria, templates, and automated sequences replace the “I’ll remember to do that” approach.
Centralized data. Every touchpoint in the lifecycle generates information: lead source, application data, screening result, lease terms, payment history, inspection photos, renewal decision. When that information lives in one place, the team can see the full picture of any tenancy at any point, and anyone can pick up where someone else left off.
Most teams have parts of both. Leasing platforms like LeaseHub are built to connect those parts into a single workflow, so the lifecycle runs end to end without the manual stitching that creates gaps.
Want more guides like this on running leasing operations better? Subscribe to the LeaseHub blog for practical breakdowns delivered to your inbox.
Frequently asked questions
What is lease lifecycle management?
It’s the end-to-end process of administering a residential lease, from marketing a vacant unit through lead capture, tenant screening, lease execution, active tenancy management, and eventual renewal or move-out. Each stage has specific tasks, timelines, and compliance requirements.
What’s the difference between lease lifecycle management and lease administration?
Lease administration typically refers to the ongoing paperwork and record-keeping tasks during an active tenancy (tracking rent, storing documents, managing critical dates). Lease lifecycle management is broader, covering the full arc from vacancy to move-out, including the leasing process itself.
What are the main stages of the lease lifecycle?
For residential property managers, the core stages are: (1) lead capture and listing, (2) showings and qualification, (3) applications and tenant screening, (4) lease execution and move-in, (5) active tenancy management, and (6) renewal or move-out. Every tenancy moves through all six.
What is the most common failure point in the lease management process?
Missed critical dates, particularly renewal windows. When a lease end date isn’t actively tracked, the decision about whether to renew gets made by default rather than deliberately, often resulting in avoidable vacancies or month-to-month situations that reduce planning ability.
Does lease lifecycle management software need to cover all six stages?
Ideally, yes. The more stages that live in one platform, the less manual handoff is required between systems, and the less data gets lost or re-entered incorrectly. At minimum, the platform you use should centralize your deal pipeline, lease documents, payment tracking, and renewal dates in one accessible place.